


On the 20th of June, we celebrate Dad’s around the world. So, for this Father’s Day, give Dad a gift that‘s meaningful and fun. To give you an idea, we’ve created a small keepsake that Dad can keep on his desk or bedside table. You could even work on the project together as a small activity. The project is a way to say “I love you” without actually having to say it out loud.
What you need:
To create the ‘I Love Dad’ project, you need:
- 3 x 8 by 8 Dot matrix LED displays with MAX7219 driver modules
- 1 x Arduino Nano + connector cable
- 5 x wires
- 1 x soldering iron
- 2 x solderable matrix boards
- 1 x 11×4 cm
- 1 x 2.5×5 cm
- 8 x Arduino 14.5mm connector strips
- 2 x 15 strip
- 6 x 5 strip
- 3D printed housing (optional)
- 4 x M4 8mm screws
You will also need some files for the ‘I Love Dad’ project:
Code on the Arduino Nano
Connect the connector cable and Arduino Nano to your laptop. Once connected, use the Arduino IDE Software to upload the code to the Arduino Nano.
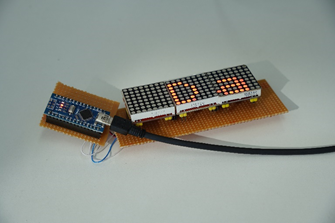
Building the ‘I Love Dad’ project
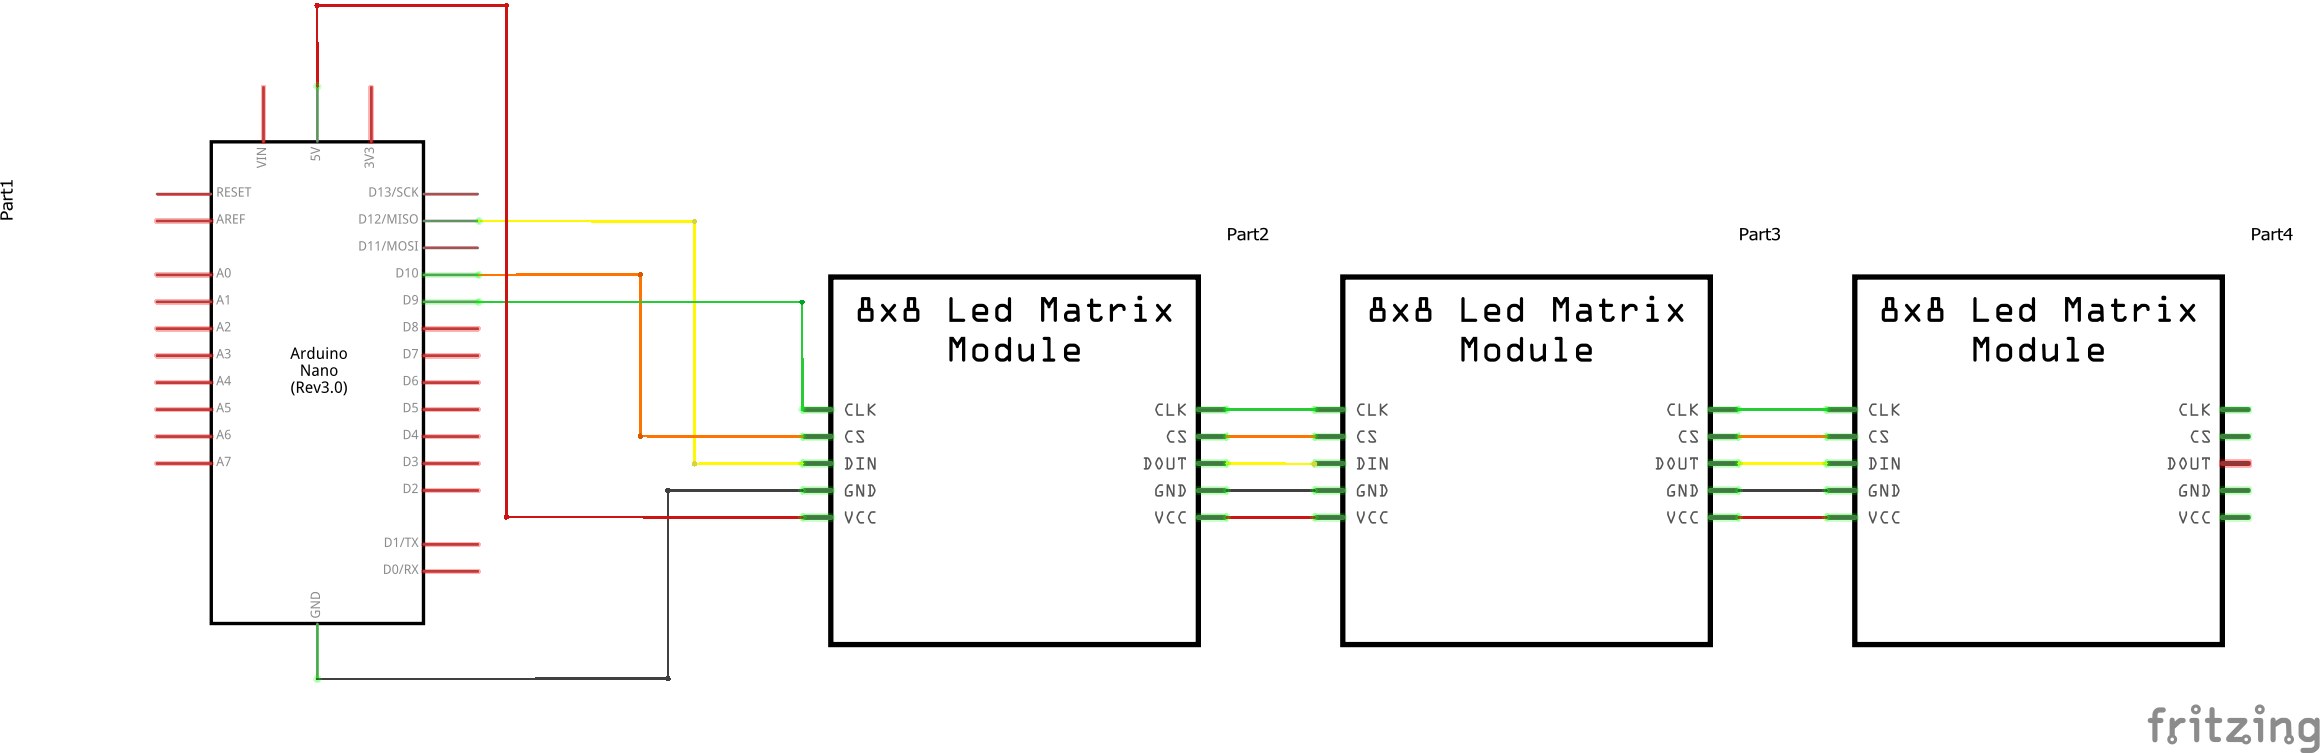
Start by building the project using the schematic provided below. Once you have put all components according to the schematic on top of the matrix boards, you may solder each wire and component individually on the back of the boards. Please make sure everything is placed in the correct spot, as it can be frustrating to re-do. You may have to cut tracks in the matrix board to allow for the Din & Dout signals to be isolated from one another on each LED module, depending on whether the copper is striped or not.
Once you have done this, use the power connector to test the code is working.
Building the Housing (optional)
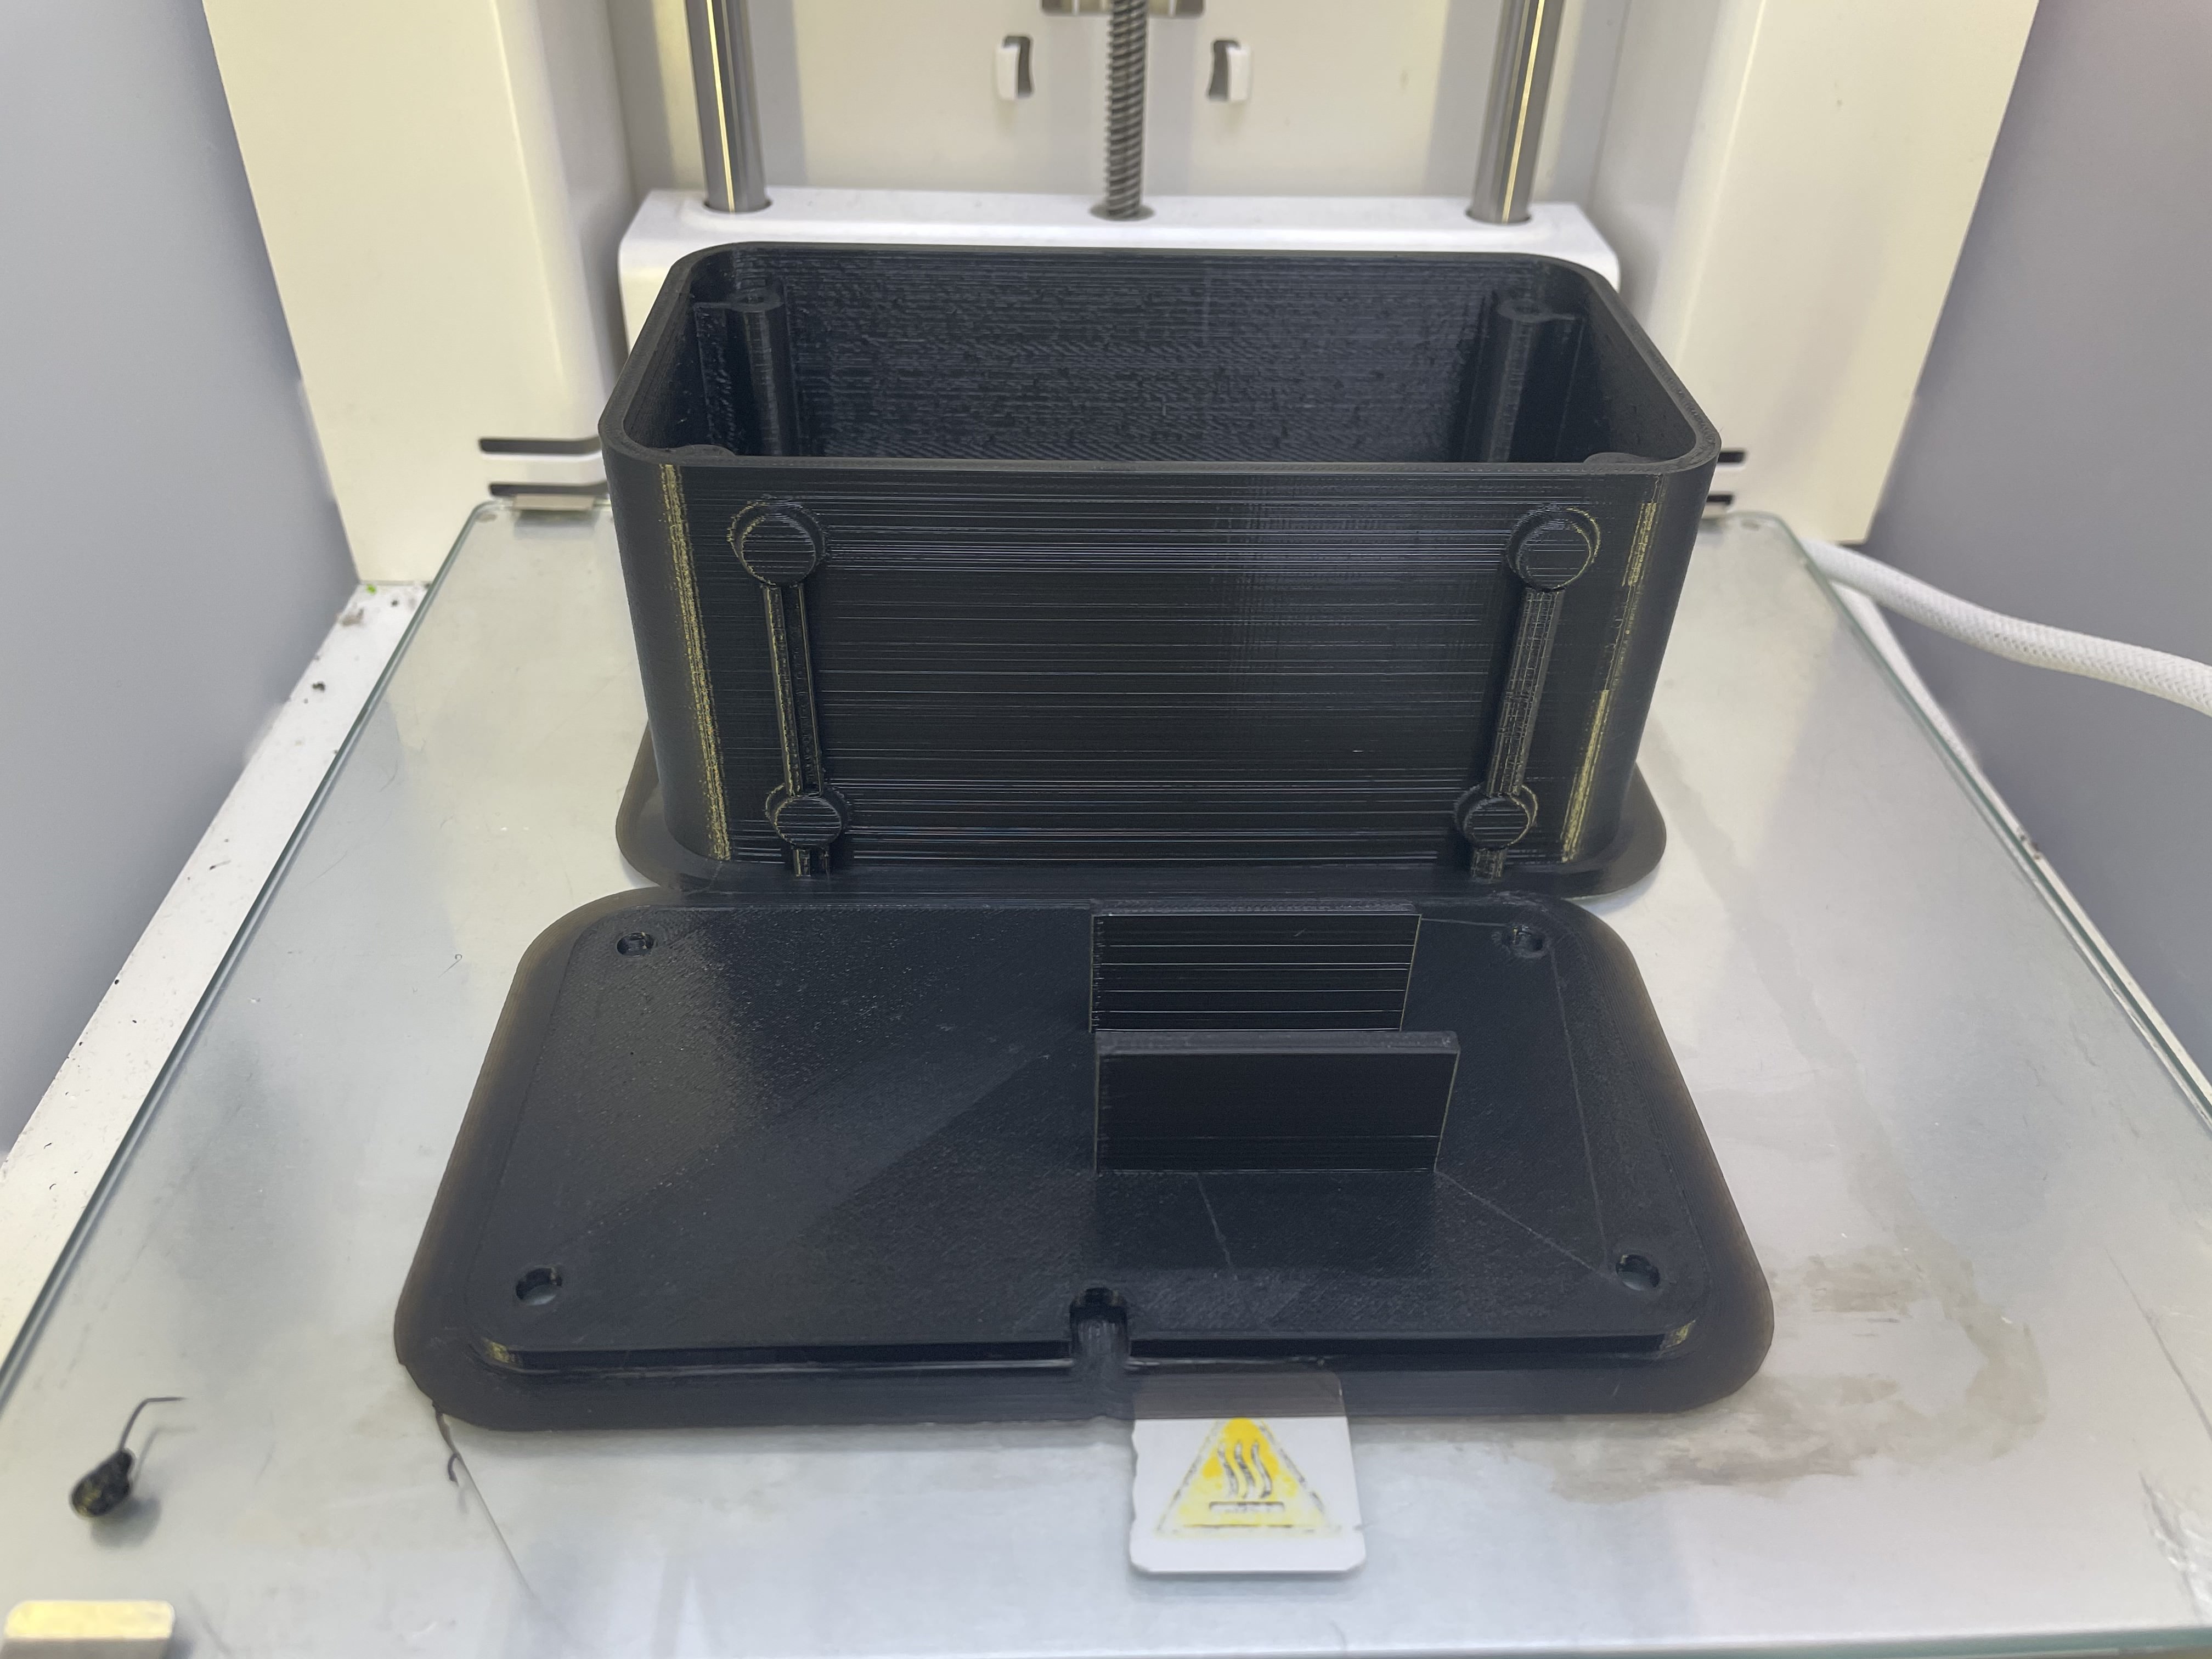
Using the file provided, you may print this using a 3D printer. You might even want to use this as a starting point to create your own housing.
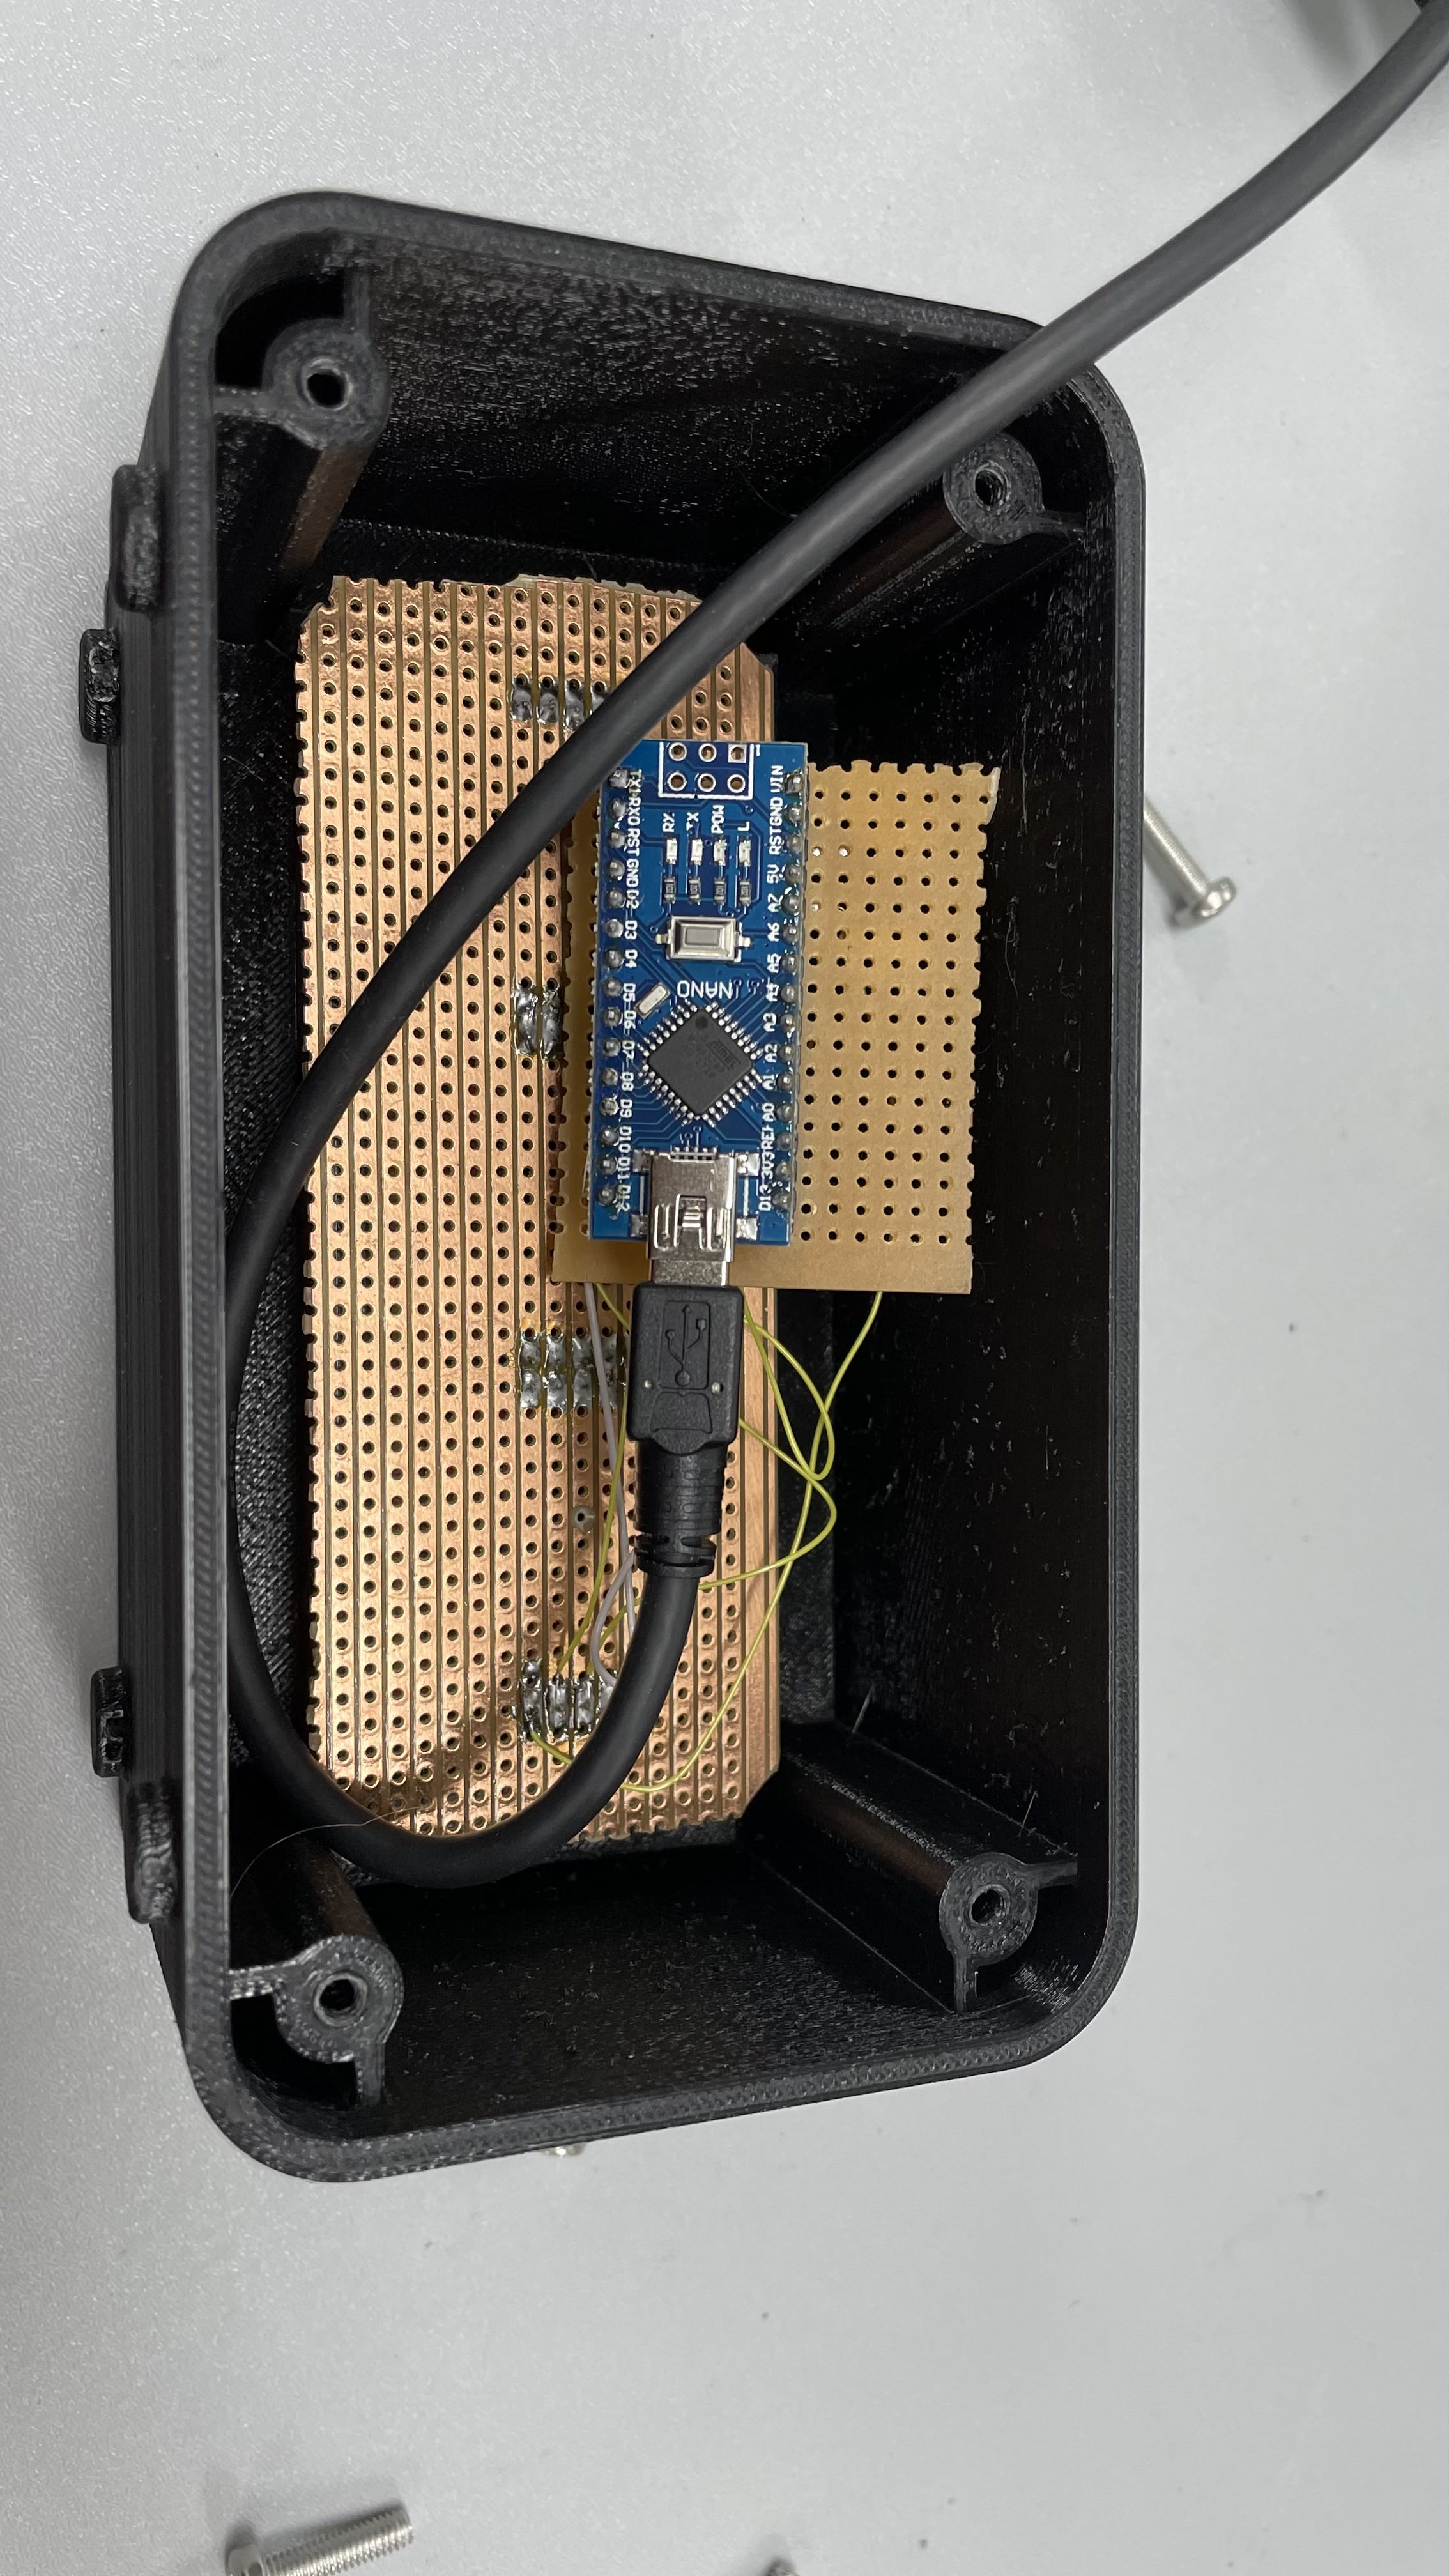
If you have printed the 3D housing, you can fit the display into the designated slot of the housing. Once slotted in, you may want to glue this into the housing.
After this, you can use the 4 screws to close the housing.
To display your message on Father’s Day, keep the project connected to a power source using the connector cable and adaptor. Although we have specifically created this for Dad, you can edit it to say whatever you would like through the code.
We hope your Father’s Day celebration is lovely and safe and that Dad loves his gift!